Do you remember having tons of digital photos from your last memorable vacations? Yes.. we knew it, you only saw it once and now they are buried deep somewhere within your photo folders and never be seen again.
Why don’t we use those photos as animated screensaver so you can enjoy it anytime and bring the memory back? Sounds cool right? But, isn’t it difficult to do?
Not at all! Here we will show you how to make your own animated screensaver in minutes.
What You Need
- Your digital photos
- Nature Illusion Studio. If you don’t have yet, please download it from here.
Once you have downloaded Nature Illusion Studio, run the installation file to install it in your computer, then we are ready to make our first animated screensaver!

Create New Project
Click the New button located at the toolbar, the New Project window will show. Click Load Image button to select your photo, and click OK to confirm.

Adding Water Effect
To add water effect, click the Pen tool on the left, then draw on the photo the area you want to add the water effect to. Click the Auto View while drawing the water are to see the result in real-time. We can play around with the water settings on the left panel to achieve realistic animation.

Adding Weather Effect
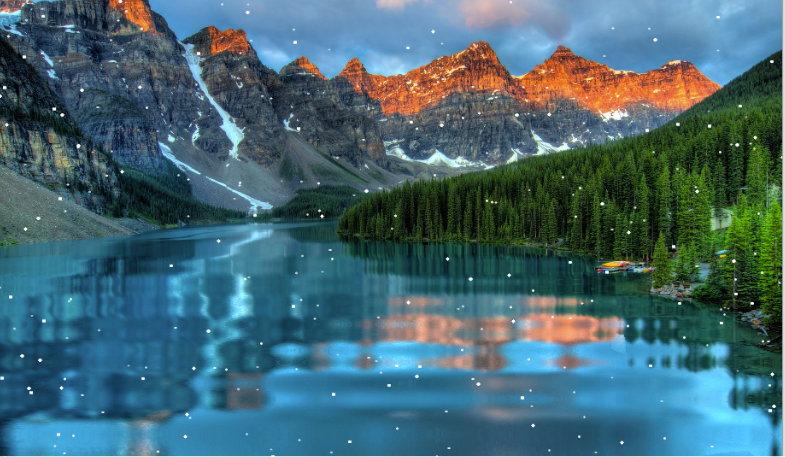
Now we have made the lake animated, now we want to add snows fall to the scene. To add snow effect, click the Weather tab on the left, and choose Snow for the type.
Click the Auto View to see the snows falling in your photo now. We can play around with the snow settings to change the size, particles count, and the speed.

Create Screensaver and Install
As of now, we have added lake animation and falling snows to our photo, next is to create it as a screensaver and install it as default screensaver.
Click Screensaver button on the top toolbar, set the filename and click the Build button. Once the screensaver built, with just a click of Install as Screensaver button the screensaver is now active in our computer. Easy, isn’t it?

